Saturday, October 30, 2010

three (plus!) years ago...

(July of 2007 if you want to be exact..)
i started working for bare escentuals.
well...
i also started gaining a family (of sorts) there that i absolutely love love love.

and today, sad day of days, was my last day.
let me tell you what was not easy about that last statement:
1. all the "last times" i did today. "last time clocking in.." "last time wearing my name tag..." "last time doing someone's makeup.." dramatic? maybe. but im allowed to be for this one.
2. cleaing out my locker. weird. just really weird.
3. trying to make my shaky hands stop shaking and my watery eyes stop watering as i pack up at the end of the day and hug my friends goodbye.
3. typing this blog post.
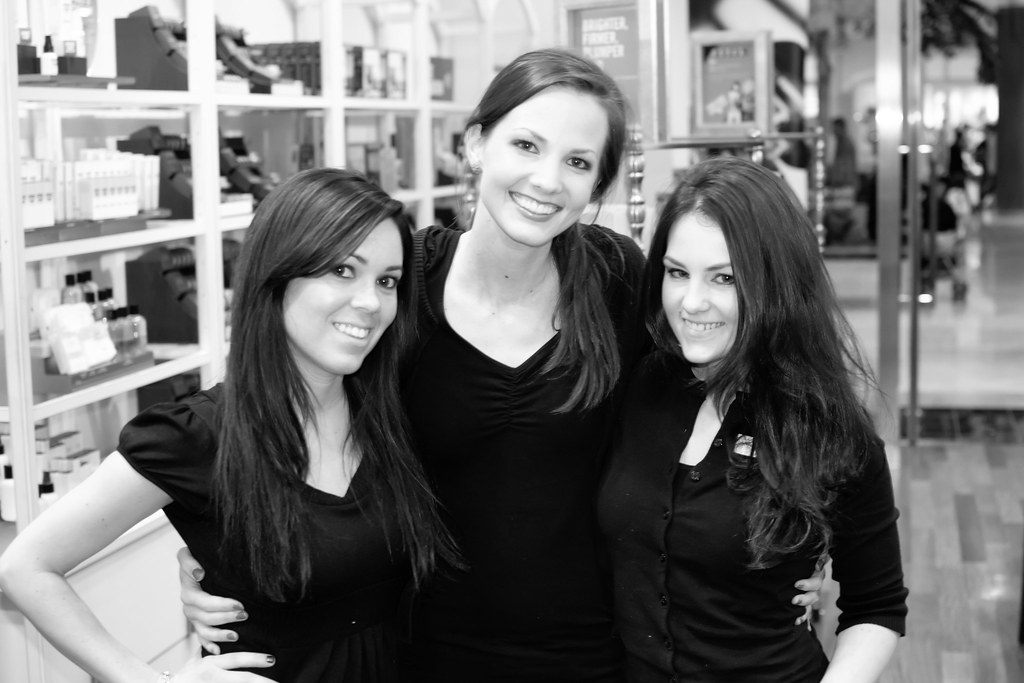
i brought my camera today to take a picture of my "family." its too bad i forgot until the end of the night when there were only a few of us left. So..Brandi and Selena made the cut. (im a little embarassed at how much of a towering giant i look like in this picture?!)

so now that ive sobbed my sob story, i should tell you why i left: my photography business!! this is the happy part. Working retail on saturdays just doesnt and cant work with photography.
..Saturday is wedding day...
..Saturday is picture day...
..Saturday is the day dads have off for family pictures...
..Saturday is the day.

soo it is a happy thing too. I am so beyond excited to use this opportunity to do what i love and make more time for photography. soo excited.
but its bittersweet. those three years are stuffed full with such fun memories, lots of black clothing, long holiday hours, and a lot of laughing. and i love them.

but....
change is good. and exciting. and fun. and needed.
so i will be happy:)

Thursday, October 28, 2010

setting up shop??

hello friends. i have an announcement!
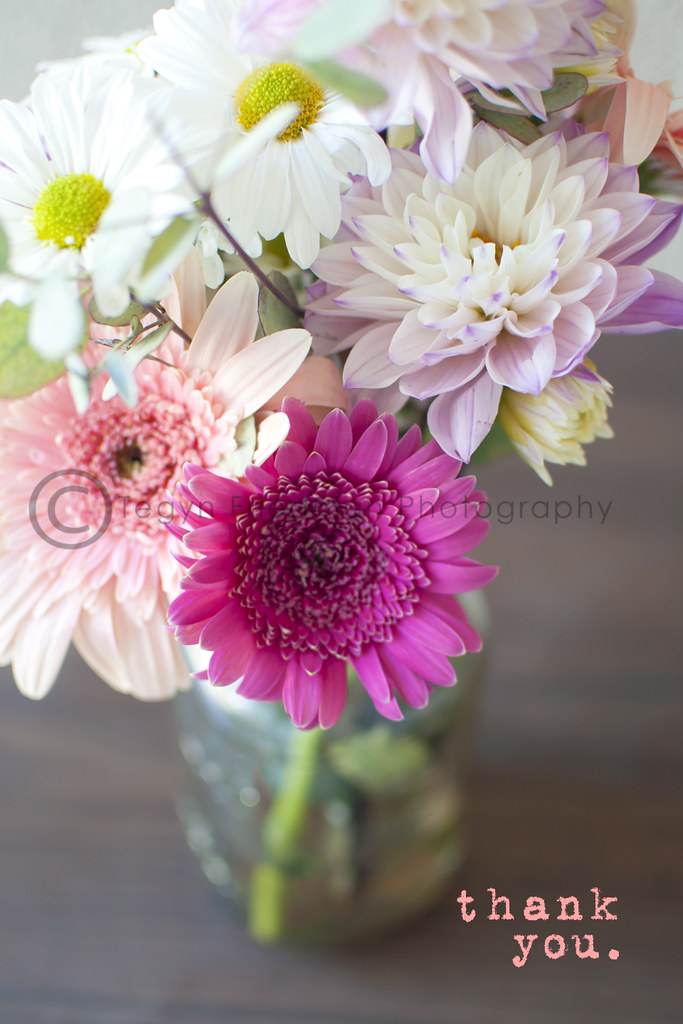
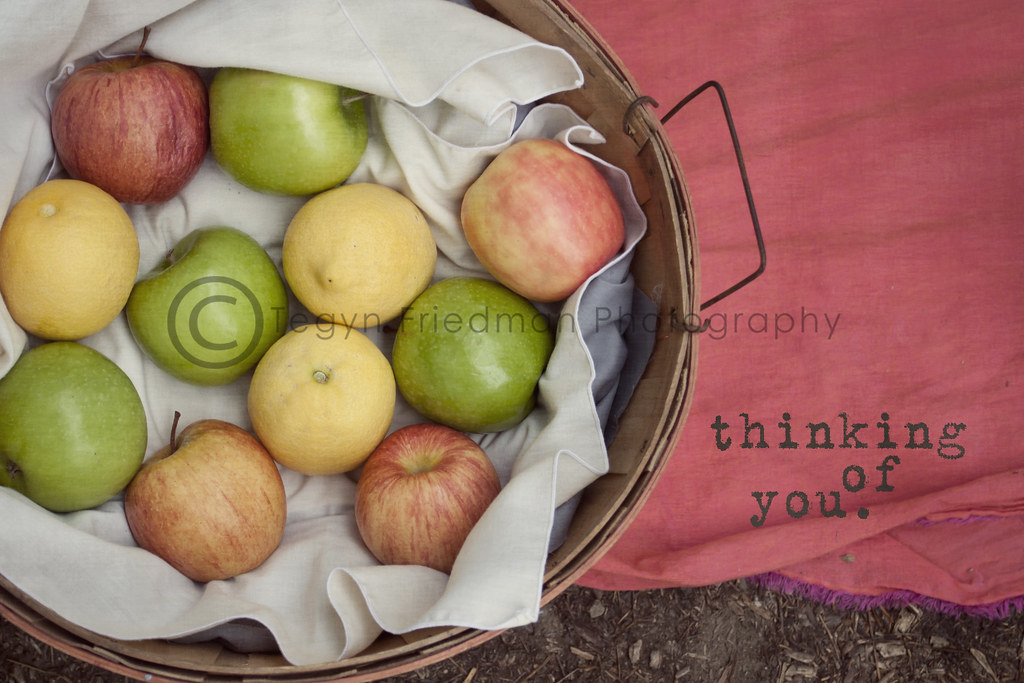
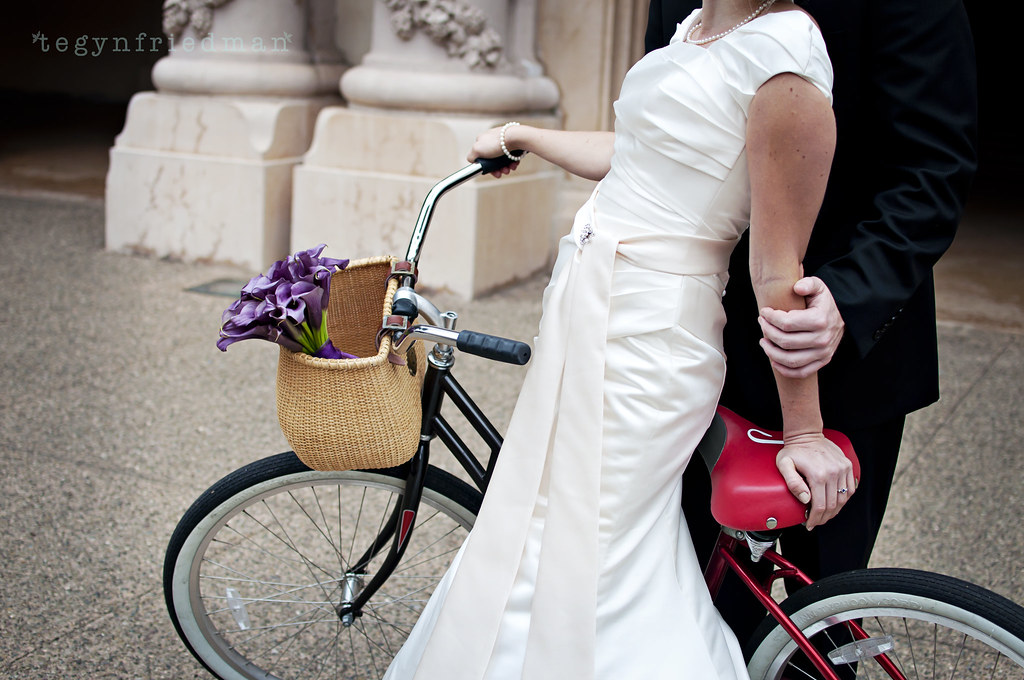
i will be "setting up shop" for purchase of my photos made into greeting cards.
its all still a brand new idea...so the actual "shop" is still in the works and has yet to be fine tuned..
but heres a look at what im thinking??
yes? no? thoughts?


if you are interested in a set of cards, (selling in sets of 10) just email me for now at tegynfriedman at yahoo dot com :)


we finally did it.

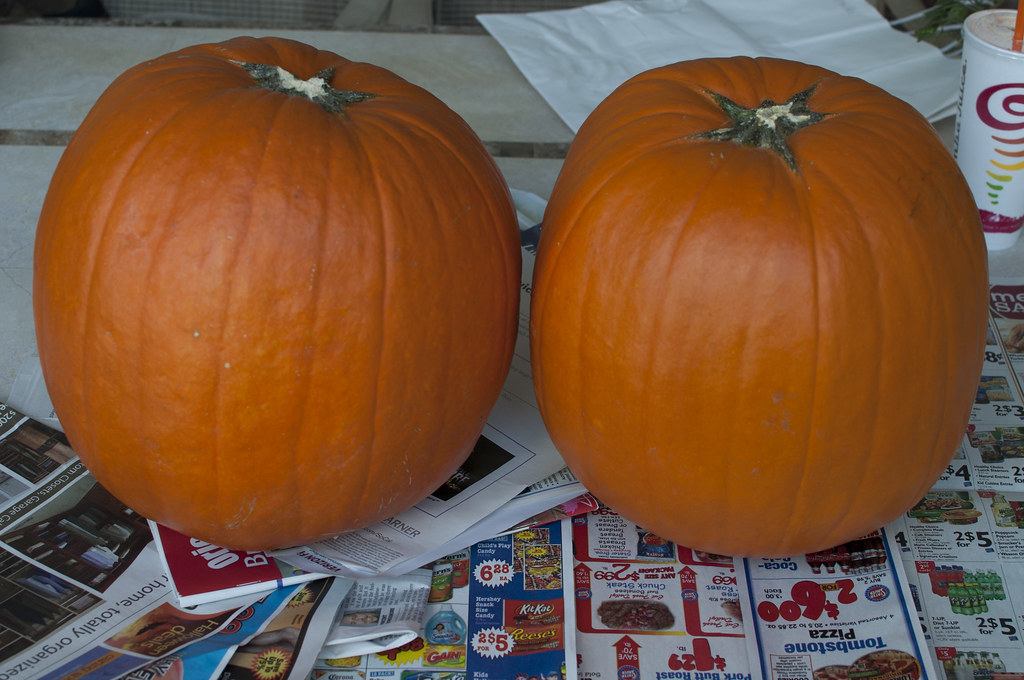
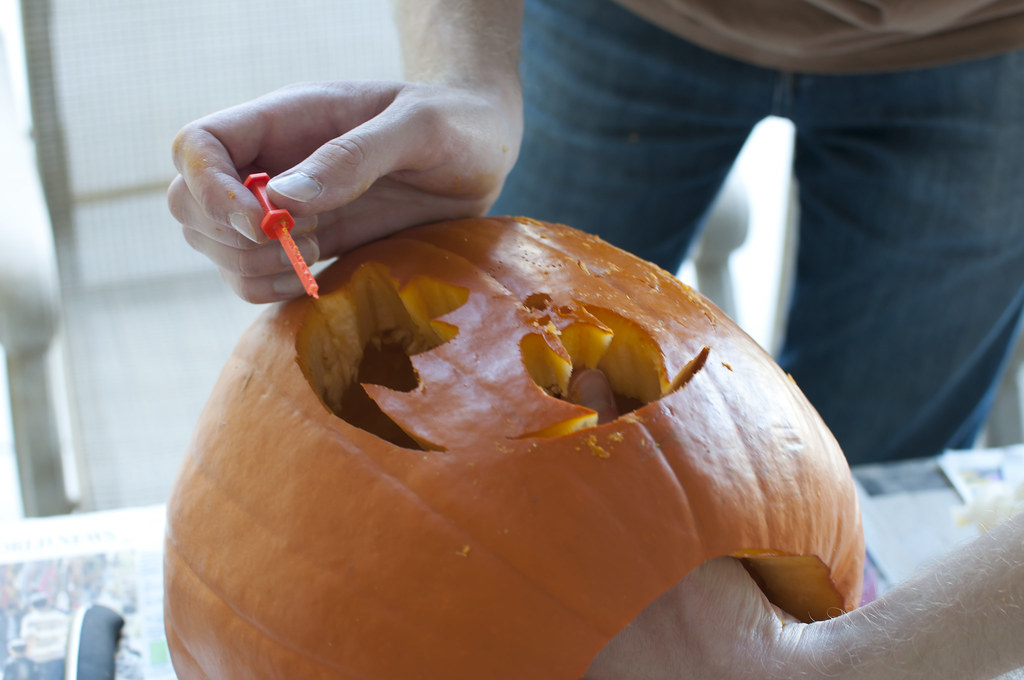
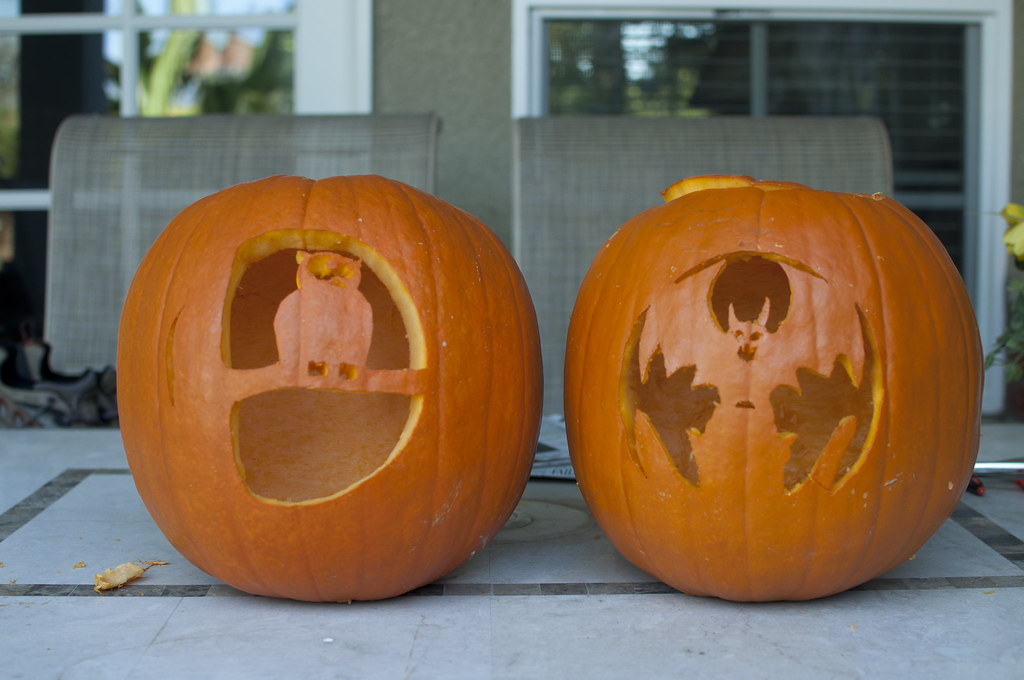
we finally finally got around to pumpkin carving this year.
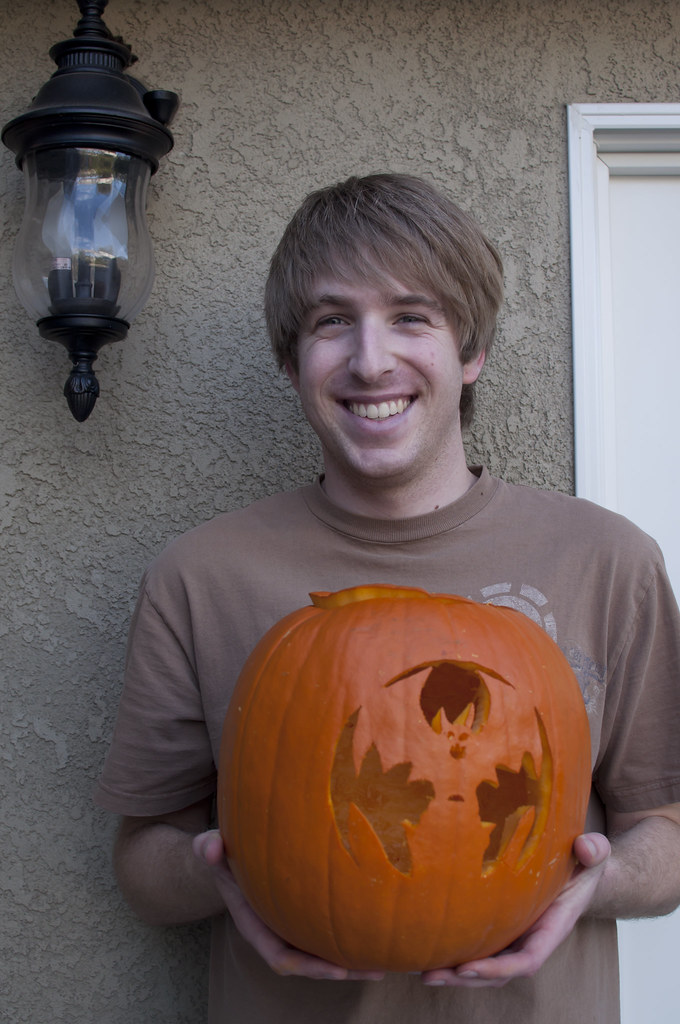
darren's came out pretty cool.
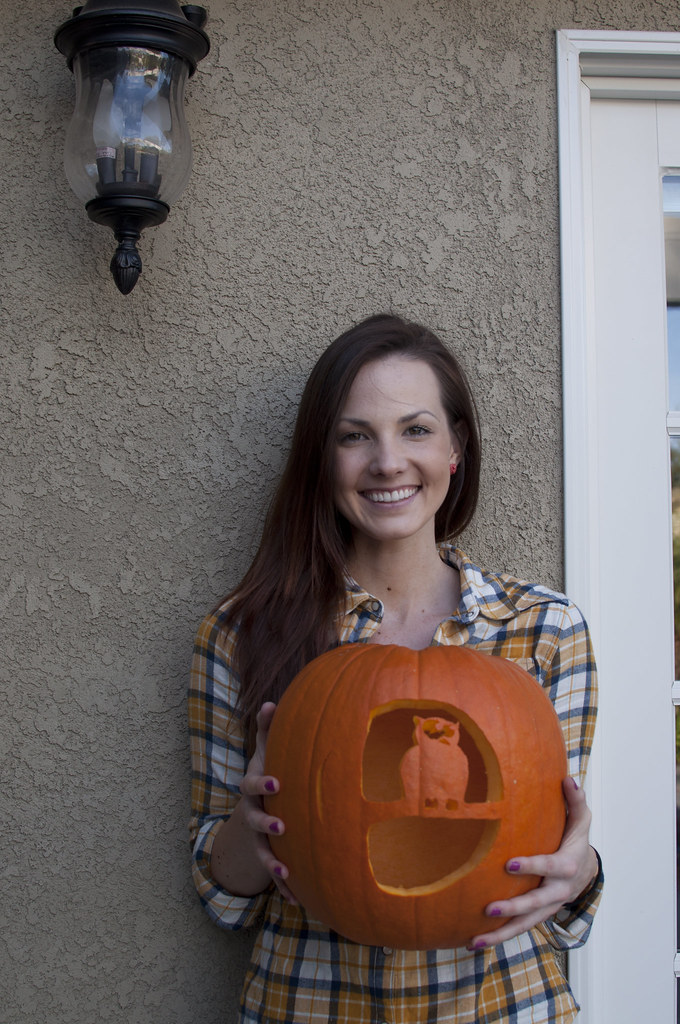
and are you ready for the cheesiest of cheesey pictures?? here you go:
dont judge my "owl." thanks.

Tuesday, October 26, 2010

on the photo blog you'll find...

my day with Tonya Joy and the wedding of Britta & Alan. :)

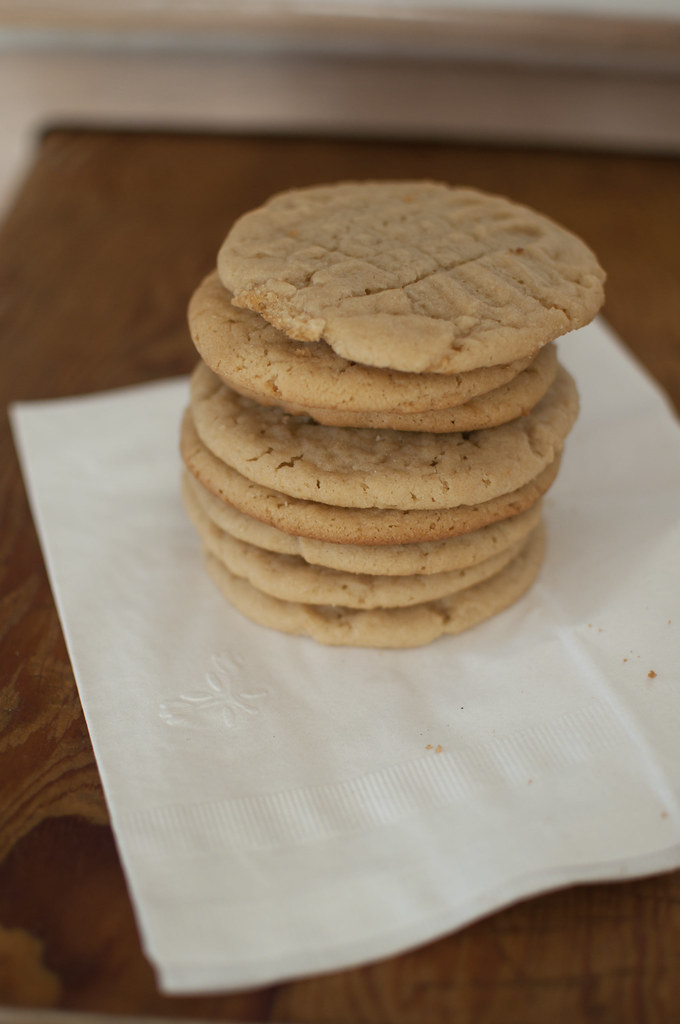
peanut butter cookies. yum.

its not very often that i make cookies that dont involve some sort of chocolate. but...i did promise the boy that id bake him something. and we were out of chocolate chips. sooo what better cookie to make than a peanut butter one?? im almost kind of glad i was out of chocolate. (thats not normal, by the way.)


Peanut Butter Cookies (Martha Stewart's recipe.)

8 tablespoons (1 stick) unsalted butter

3/4 cup smooth peanut butter --i used Trader Joe's organic peanut butter...and loved it.


1/2 cup granulated sugar

1/2 cup packed dark-brown sugar

1 large egg

1/2 teaspoon pure vanilla extract

1 cup all-purpose flour

3/4 teaspoon baking soda

Dry-roasted, salted peanuts, for sprinkling (optional)

Directions:

1.Heat oven to 350 degrees. Line several baking sheets with parchment paper, and set aside.

2.In the bowl of an electric mixer fitted with the paddle attachment, cream butter, peanut butter, and both sugars together until light and fluffy. Add egg and vanilla, and mix on medium speed until well combined.

3.In a medium mixing bowl, sift flour and baking soda together. Add to the butter mixture, and beat just to combine.

4.Scoop out 2 tablespoons of dough, shape into a ball, and place on one of the prepared baking sheets. Repeat with remaining dough, placing scoops 3 inches apart. Dip the tines of a fork in warm water; press the dough balls lightly with the back of the fork to flatten them slightly (dip the fork back in the water for each dough ball, to prevent sticking). Sprinkle with a few peanuts, if desired.

5.Transfer to the oven, and bake until golden brown, 18 to 20 minutes, rotating the baking sheets between the oven shelves halfway through baking. Transfer baking sheets to a wire rack to cool. Store in an airtight container at room temperature up to 1 week.

Monday, October 25, 2010

over the weekend..

i was SO lucky enough to be able to come second shoot a wedding for Tonya Joy. I love Tonya! While there, (san diego) one of our veiws was this. can you believe those clouds?? pictures from the wedding to come soon!

Friday, October 22, 2010

cinnamon rolls..(?)

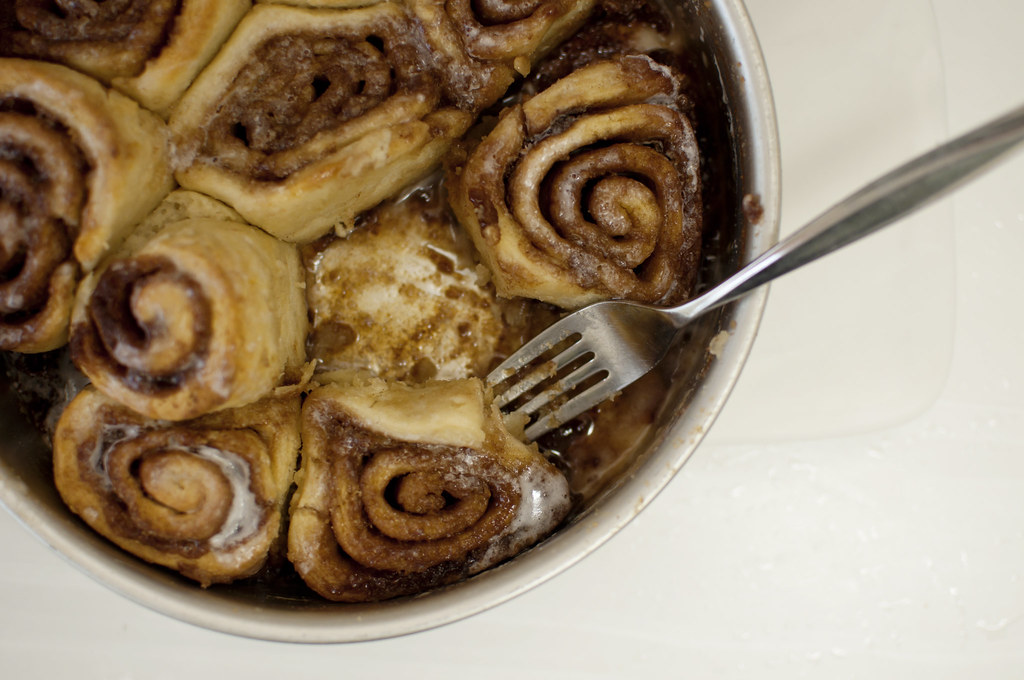
i wanted something to taste like fall today. and darren loves cinnamon rolls. soooo i took a shot in the dark.
and this is what i got...i dont really know if theyre supposed to look like this?? in my sweet-tooth-cinnamon-craving-baking-loving mind, i was hoping for something more doughy. bready. with much thicker icing. 
but.
they tasted really really good! i promise! if you trust me even a little bit to try them, here is the recipe:


Cinnamon Rolls (adapted from this recipe)

Rolls:
2 1/2 c. flour (+ extra for the counter)
2 tbsp white sugar
1 1/4 tsp baking powder
1/2 tsp salt
1 1/4 c. buttermilk (i made a buttermilk substitute of milk and lemon juice)
6 tbsp unsalted butter, melted.

Filling:
3/4 c packed brown sugar
1/4 c white sugar
3 tsp cinnamon
1 tbsp unsalted butter, melted
Directions:
1. Preheat the oven to 425°. Generously coat a 9 inch round cake pan and a wire cooling rack with vegetable oil spray.
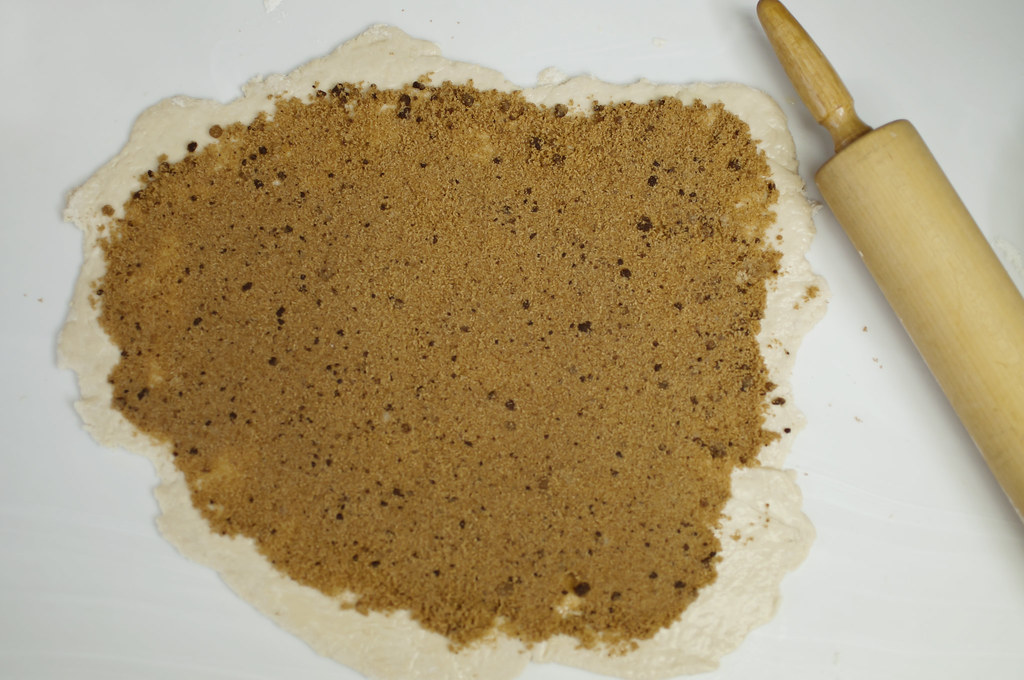
2. Make the filling: combine together the brown sugar, 1/4 cup granulated white sugar, cinnamon, salt, and the 1 Tablespoon melted butter until the mixture resembles wet sand.
3. Make the dough: In a large bowl, whisk together the flour; 2 Tablespoons white granulated sugar, baking powder, baking soda, and salt.
4. In a separate bowl, whisk the buttermilk and 2 Tablespoons of the melted butter together.
5. Stir the buttermilk mixture into the flour mixture with a wooden spoon until absorbed, about 30 seconds. The dough will look shaggy.
6. Turn the dough out onto a generously floured counter and knead until smooth, about 1 minute.
7. Press the dough out into a 9 by 12 inch rectangle using your hands.
8. Brush the dough with 2 Tablespoons melted butter. Sprinkle the dough evenly with the filling, leaving a 1/2-inch border. Press the filling firmly into the dough.
9. Loosen the dough from the counter using a bench scraper or a metal spatula.
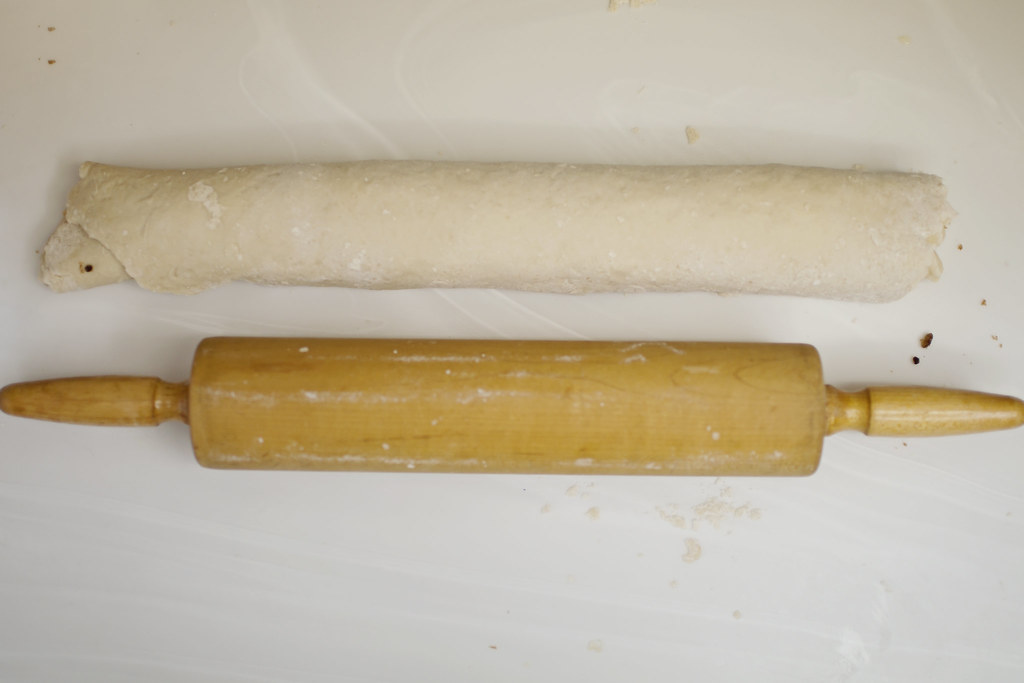
10. Starting at a long side, roll the dough, pressing lightly, to form a tight log.
11. Pinch the seam to seal. Slice the dough into 8 even pieces.
12. Place the slices in the greased pan.
13. Brush with the remaining 2 Tablespoons melted butter. Bake until the edges are golden brown, 20-25 minutes.
14. Use a knife to loosen the buns from the pan. Flip the buns out onto the prepared wire rack, then turn buns upright and let cool for 10 minutes before frosting withcream cheese icing. Prepare the icing while rolls are cooling.


Thursday, October 21, 2010

tea time!

more here!

Wednesday, October 20, 2010

ha! what??

i found these two in the garage last night. like this. sleeping. comfy? apparently?

Tuesday, October 19, 2010